Use a Cisco equipment acceptance checklist to match the shipment to your order and record the agreed bench tests. Verify each device’s identity, software rights, and required support coverage before an authorized reviewer signs off.
A switch that starts can still be the wrong unit. The team needs to check the parts, the paperwork, and the tests against the same order.
Hypothetical example: Alex receives four switches for a branch refresh. All four start, but one chassis serial number differs from the supplier’s list. Alex saves label photos and holds that unit while the buyer seeks an answer.
Their Cisco equipment acceptance checklist shows which device needs attention and why. The other units can move through their own checks.
This guide gives the receiving team a worksheet to use while boxes are open and engineers are on hand. It links the delivery check, test plan, and final handoff. Cisco’s own guides support the technical points, with Catalyst 9300 examples scoped to that platform. Use the rules for your exact model, software release, order terms, and site.
Key Takeaways
- Match the order, physical labels, and device inventory for each chassis and relevant module.
- Keep bench tests, software rights, and support coverage as separate checks.
- Agree on test conditions and pass limits before testing; list anything left untested.
- Close each Cisco equipment acceptance checklist with proof, issue owners, and a signed decision.
Prepare your Cisco equipment acceptance checklist
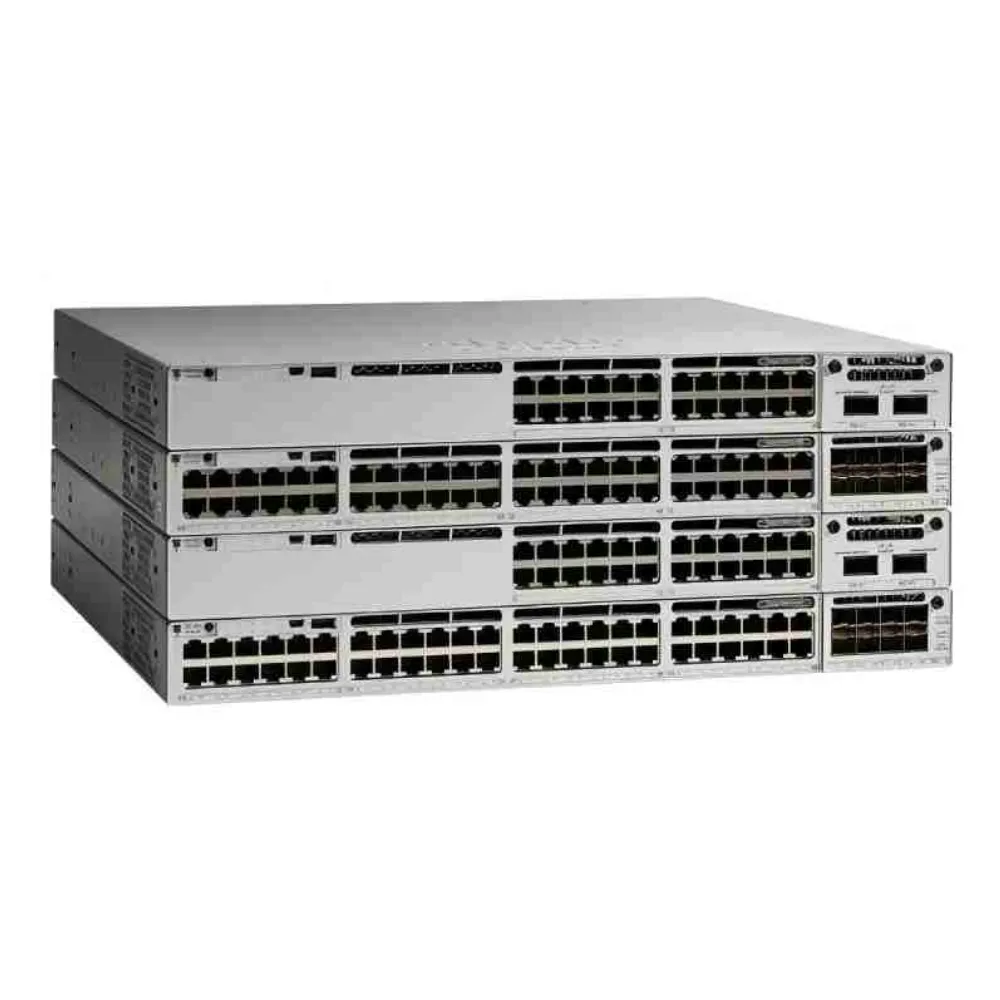
Start with the approved bill of materials (BOM), purchase order, and supplier’s asset list. Confirm the condition specified for the goods, such as new or used. Identify the people who receive the boxes, run the test plan, and approve any changes.
Your Cisco equipment acceptance checklist should show what each signature means. Under the agreed terms, one person may sign for the boxes while the technical review stays open. Set that rule before delivery so a receipt doesn’t cause doubt about the final decision.
For support coverage, list the provider, assets, service dates, site, and required evidence. If the order calls for Cisco support, the seller’s own service offer doesn’t settle that point. Give the check to someone who can confirm the facts through the appropriate account or support channel.
Use our Cisco procurement guide to align the BOM and acceptance requirements before the shipment arrives.
Add the test plan version to the Cisco equipment acceptance checklist. List the features, ports, media, tools, run time, and pass limits. Use N/A with a reason for checks that don’t apply; a blank field must not become a pass.
Record the contractual deadline and notification route with the order. If the team finds a fault, they need to know who must receive the notice and when. Follow the terms agreed for this purchase.
Cisco equipment acceptance checklist: delivery checks
Use these 10 checks in order, adding tasks for the exact model. Your Cisco equipment acceptance checklist may need extra checks for stacks, backup power, routing, or wireless control. Agree on the scope with the buyer and engineer; these are buyer checks, not a universal Cisco test standard.
| Check | Evidence to retain | Hold or investigate when |
|---|---|---|
| 1. Reconcile delivery | Purchase-order lines, quantities, carton labels, and arrival photographs | Quantity, ordered condition, or shipment identity differs |
| 2. Check accessories | Approved list of supplies, cords, mounting hardware, modules, and cables | A required item is absent or substituted without approval |
| 3. Match device identity | Chassis serial number, product identifier, hardware revision, and inventory output | Label, equipment list, or device output cannot be reconciled |
| 4. Inspect physical condition | Photographs of enclosure, connectors, labels, mounting points, and damage | Damage, contamination, or an unexplained condition difference needs assessment |
| 5. Observe startup | Console/boot log and applicable power-on self-test result | Boot loops, failed self-tests, or unexplained alarms remain |
| 6. Check environment and power | Fan, temperature, supply state, and approved redundancy checks | Required components or environmental readings fail the test plan |
| 7. Test interfaces and features | Port list, configuration, traffic results, counters, and feature results | Results miss agreed limits, or required interfaces remain untested |
| 8. Verify optical links | Exact device/module/optic identifiers, compatibility evidence, and link results | A pairing lacks required support or fails the agreed link test |
| 9. Confirm software and services | Software baseline, license evidence, and required support coverage | Rights, account assignment, or contractual service requirements remain unresolved |
| 10. Approve disposition | Completed results, open exceptions, owners, and signed decision | A blocking requirement has no accepted resolution |
For Cisco switches, match the full order rather than a family name alone. A module, power supply, or cable may be a separate line. Keep each changed part on the Cisco equipment acceptance checklist until the right person approves it.
Cisco’s Catalyst 9300 installation guide says some items in the box depend on the order. It tells buyers to seek instructions for missing or damaged items. It also describes a power-on self-test (POST) check before fitting that switch in place.
Use the guide for your own model. LED meanings and kit contents can differ, so one switch’s instructions aren’t a rule for every Cisco device.
Verify identity, software rights, and support coverage
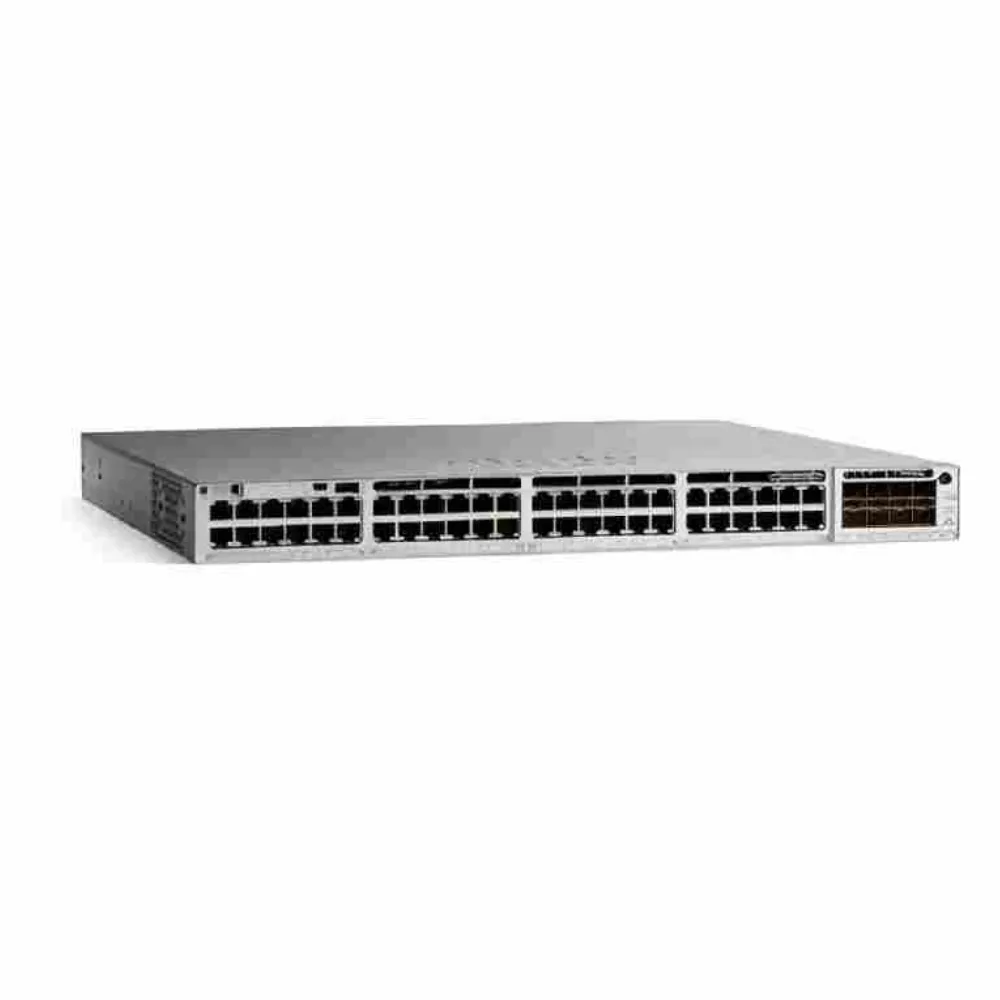
Match the serial number and component list
Cisco’s Catalyst 9300 hardware command reference explains three identity fields. The product identifier (PID) names the product you can order. The version identifier (VID) records its hardware revision, while the serial number (SN) identifies the item.
Record the chassis serial number on its own line. Parts such as power supplies and transceivers can have their own entries too. Your Cisco equipment acceptance checklist should link those parts to the chassis so their records stay clear.
A matching serial number helps match records; it doesn’t prove the unit is genuine. Nor does it prove software rights or support coverage. Check the source records and labels, and ask the seller to explain any difference.
Check the software release and the right to use it
Record the software release and match it to the baseline in your test plan. If the order calls for an image check, use Cisco’s method for that product and release. Compare the stored file with the hash Cisco provides.
Cisco’s IOS XE integrity guidance explains the limits of stored-file checks. They don’t check the image running in memory. Save the method and result in the Cisco equipment acceptance checklist without claiming it proves the whole device is secure.
A matching hash also doesn’t grant a software license. If the team needs to change the image, use the approved change process. Then run the affected tests again and keep both sets of results.
Confirm support coverage for the actual order
For used goods, read Cisco’s hardware inspection and software relicensing policy. Software transfers have limits, with exceptions under Cisco’s policy and the law. New Cisco support eligibility for used equipment requires valid-license proof and inspection under the applicable program rules.
Standard Cisco warranties and service contracts generally don’t pass to the next user. Check the exact product and terms. Put support coverage proof beside the relevant serial number on your Cisco equipment acceptance checklist.
List any license record, inspection, or Cisco answer still needed. The policy says its inspection adds no warranty and doesn’t certify every manufacturer specification. A buyer’s bench test also cannot grant those rights.
Hypothetical example: Morgan tests two used switches and records good uplink traffic. The order requires Cisco support coverage, but the files show only a seller warranty and the old owner’s contract number. Morgan keeps the support item open and holds deployment while the team checks the rules. Their Cisco equipment acceptance checklist keeps the good bench results without treating them as proof of Cisco support.
Test power, ports, and optical links
Use a safe bench and a clear test plan
Use an isolated bench and follow the model’s safety and setup guide. Record the chassis serial number, software release, settings, connected devices, and tester. Your Cisco equipment acceptance checklist should give the next engineer enough detail to repeat the test.
On Catalyst 9300 with IOS XE 17.13.x, these commands are examples for viewing evidence:
show inventoryshow environment allshow interfaces countersshow interfaces transceiverCheck command options and access rights for the release in use. Other Cisco product families need their own guides. Reading a saved test result is different from starting a test that could stop traffic.
Only run such tests under the approved test plan. Use the isolated bench, and get the required approval before an interruption. Don’t start a disruptive test on a live network just to complete a box on the form.
Test the required ports at the planned speeds. Save the traffic method, offered rate, run time, counters, and result. If the order permits a sample, list both the tested ports and those left untested in the Cisco equipment acceptance checklist.
Add checks for power backup, stacking, routing, and Power over Ethernet (PoE) when required and supported. Follow the model’s guide before removing a part or power feed. The test plan must say what should happen and how to judge the result.
Check both ends of each optical link
List the devices, ports, modules, optics, fiber, reach, and software needs at both ends. Cisco’s optics compatibility tool manual explains searches by exact product identifiers. Save the matching result and notes; a module that fits or links briefly still needs the full check.
Record the optic serial number when one is available. Save light-level readings if the device supports them and the test plan calls for them. Use the limits for the exact optic and setup, rather than one range for all modules.
Building the link schedule? Browse Cisco optical modules and list candidate part numbers before checking the pair. Retain the compatibility evidence with the Cisco equipment acceptance checklist. A catalog entry alone doesn’t confirm that two parts work together.
Record acceptance, exceptions, and handoff
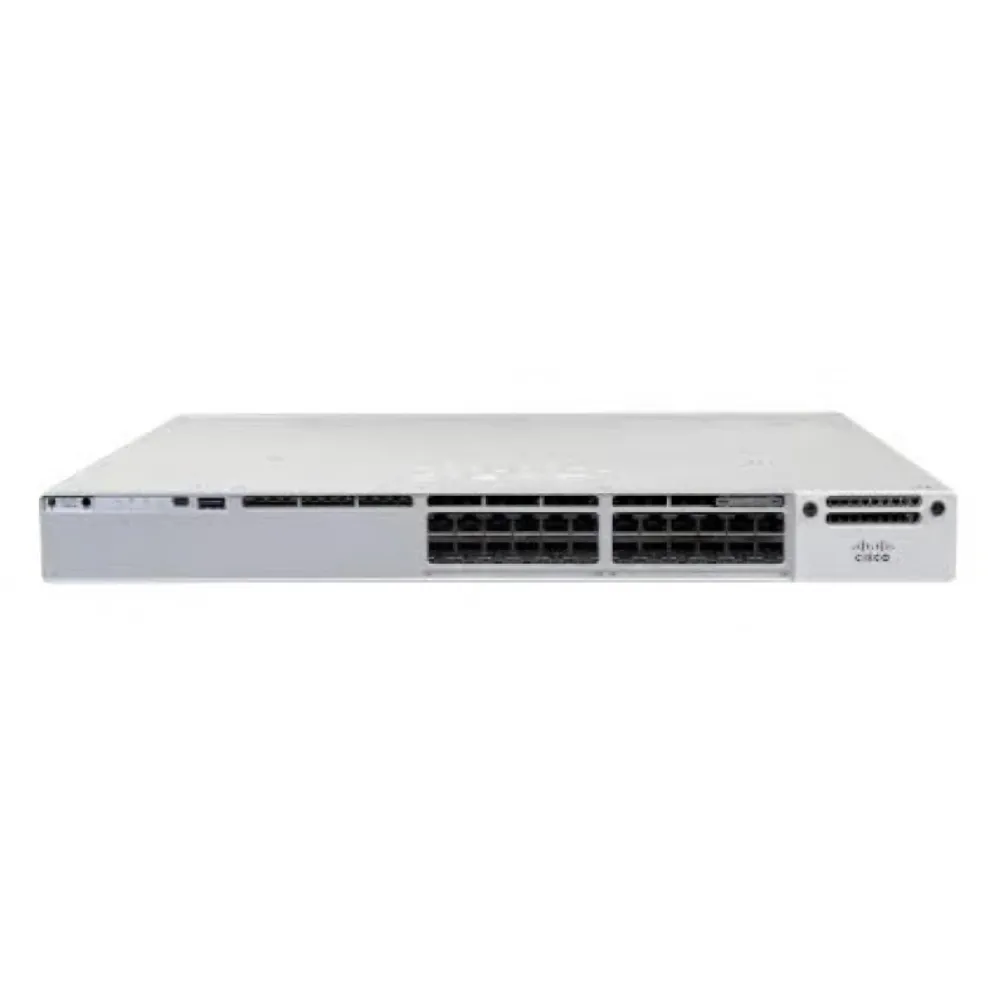
Make one record per chassis and link its parts to it. These fields turn your Cisco equipment acceptance checklist into a handoff the next team can use. Give logs and photos clear file names so the buyer can find the proof later.
| Acceptance record field | Information to enter |
|---|---|
| Order and asset | Purchase order, BOM revision, asset tag, location, and receiving date |
| Device identity | Model/PID, VID, chassis serial number, and relevant component identifiers |
| Agreed condition | Ordered condition, observed condition, photographs, and approved deviations |
| Test basis | Test plan revision, operator, date, setup, and tools |
| Result evidence | Test ID, expected/actual result, log file, and pass/fail/N/A with reason |
| Software rights | Release, baseline check, license evidence, and responsible account owner |
| Service evidence | Support coverage provider, applicable asset, dates, reference, and confirmation owner |
| Exceptions | Issue, severity, deployment impact, owner, due date, and resolution evidence |
| Decision | Accept, accept with approved exceptions, hold, or reject under agreed terms |
| Sign-off | Authorized technical and procurement approvers, dates, and handoff destination |
Keep proof of support coverage even if a separate team checks it. Link their answer to the Cisco equipment acceptance checklist so it stays with the asset. Record the service terms as agreed, without adding a response or replacement promise.
Use acceptance with open issues only when the contract and named decision owners allow it. State the issue, its impact, and who must close it. A failed required test, identity mismatch, or missing required right should follow the agreed hold or rejection process.
When a replacement arrives, record its serial number and test the affected scope again. Don’t let a changed spreadsheet cell erase the earlier fault. Close the Cisco equipment acceptance checklist when every required item has proof or an approved exception.
Cisco equipment acceptance FAQs
What belongs in a Cisco equipment acceptance checklist?
Include delivery, parts, identity, condition, startup, power, ports, optics, software rights, and the final decision. Attach a test plan and proof of required support coverage. Use the 10 checks as a starting worksheet, then add what the order and exact model need.
Does a serial number check prove a Cisco device is genuine?
No. A serial number match helps link records, but it doesn’t establish authenticity. Your Cisco equipment acceptance checklist should compare labels, device output, and the seller’s records. Keep questions about software rights and service separate from the identity result.
Is a successful boot enough to accept the equipment?
No. Startup and POST cover only part of the work. The unit still needs the agreed port tests, features, parts, and rights. Save the boot result in the Cisco equipment acceptance checklist and leave the other checks open until their owners finish them.
How long should an acceptance or burn-in test run?
Use the run time agreed in the test plan for that model and workload. This worksheet doesn’t set a universal Cisco burn-in period. Record the conditions, counters, result, and any break in the test so the engineer can judge it against the agreed limits.
Can used Cisco equipment receive Cisco support?
It depends on the product, software rights, inspection rules, and Cisco’s answer. The old owner’s contract or a seller warranty doesn’t establish your support coverage. Keep that item open in the Cisco equipment acceptance checklist until its owner confirms the right path.
Close the acceptance record before deployment
Start with the order and finish with a clear decision. Match the goods, check the parts, save the identity records, and run the agreed tests before use. Give software rights and support coverage their own checks, with owners who can resolve missing facts.
A useful Cisco equipment acceptance checklist tells the next engineer what passed and what still needs work. It shows the setup behind each result too. That helps the team judge a later part swap or software change without treating the first test as a lasting guarantee.
Keep the record with the asset and hand it to the team that will run the device. Make sure open issues have owners and an approved decision on deployment. Keep the old proof when you add new test results.
For a sourcing discussion, send CREA DAS TECH your part list with the required condition, software needs, and test records. Agree on terms for the order, then use the Cisco equipment acceptance checklist to check what arrives.